


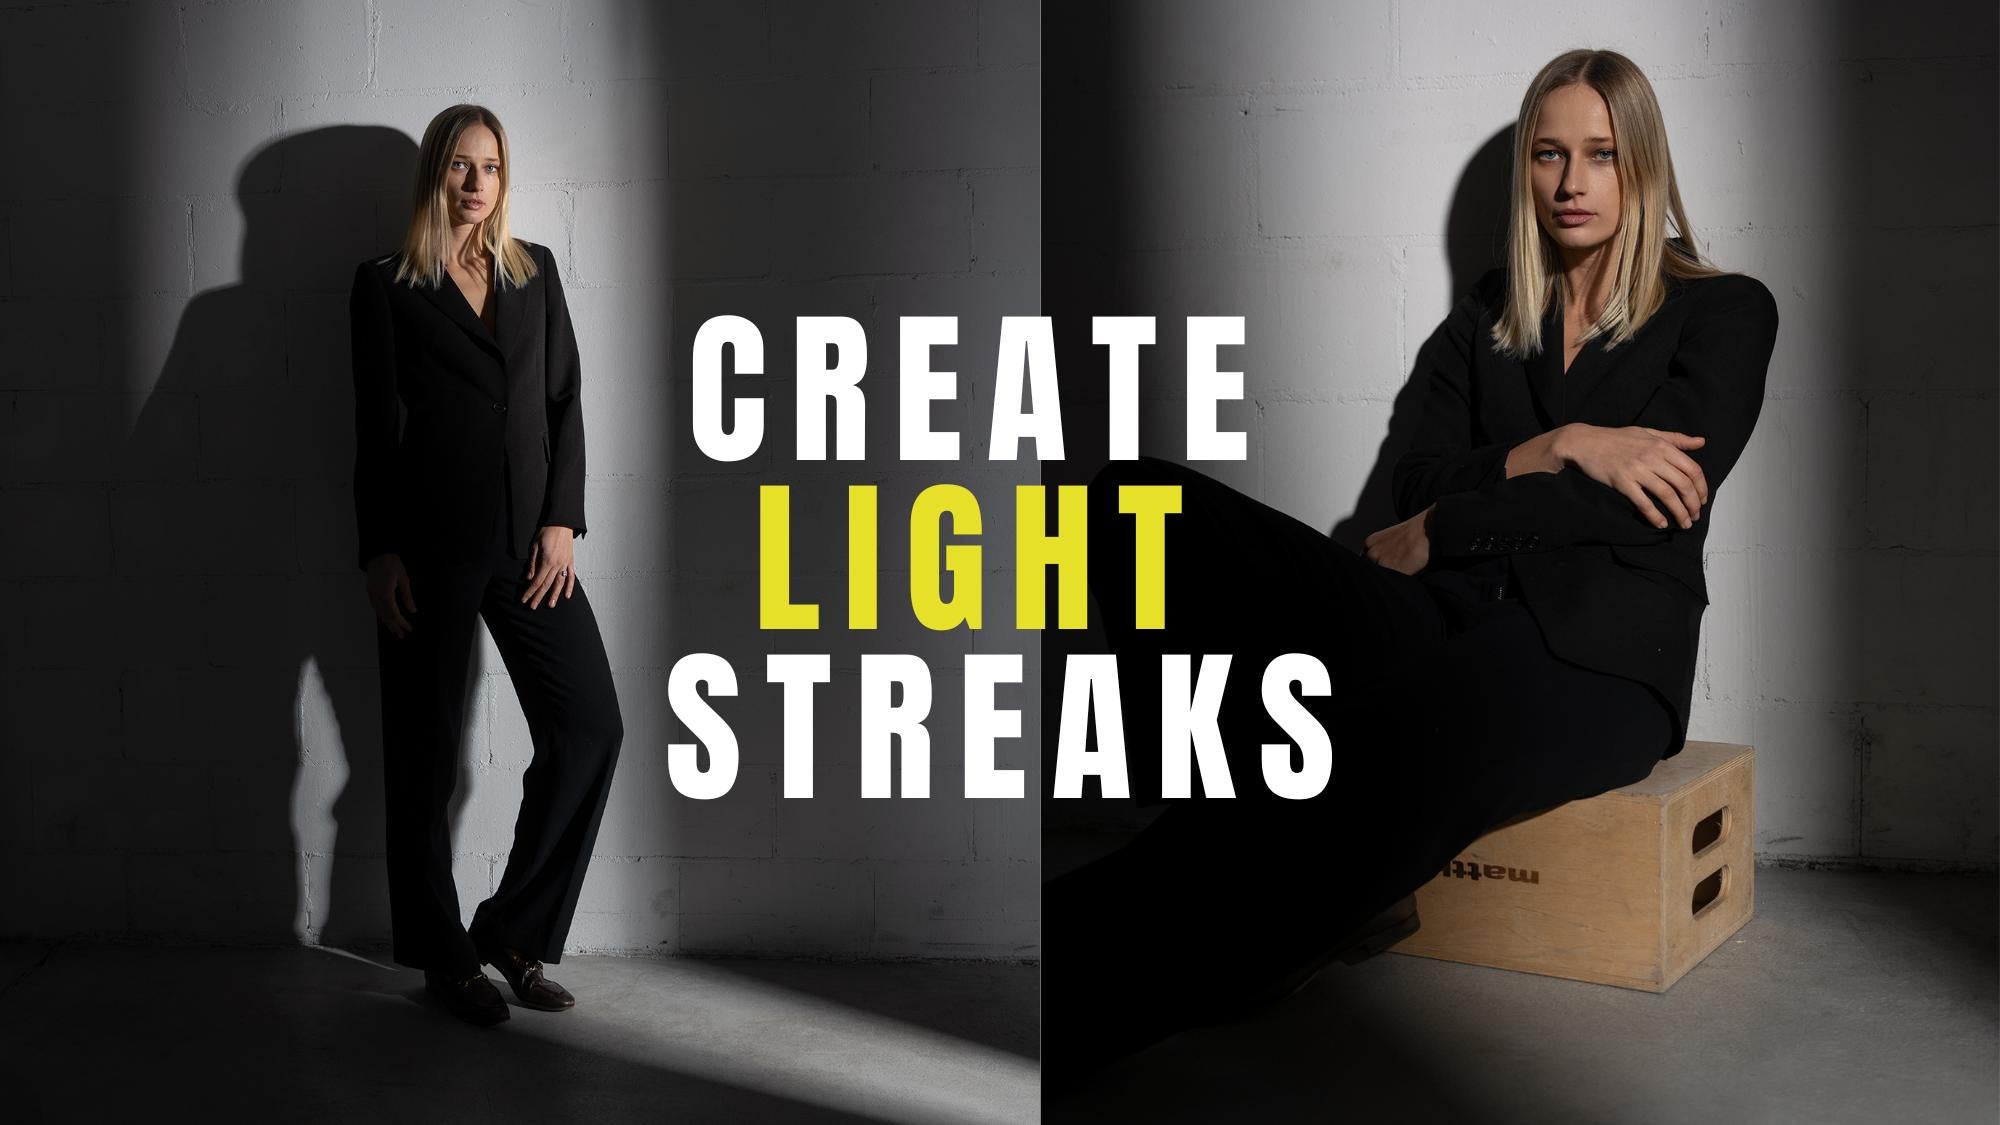
3 Lighting Tips to Flatter Wrinkles in Portrait Photography | Lindsay Adler
Ever wonder how professional photographers make everyone look amazing in portraits, regardless of their age or skin texture? With over two decades of experience photographing people of all ages, Lindsay Adler has cracked the code to shooting flattering portraits of subjects with wrinkles.
While there's no one-size-fits-all formula for photographing wrinkles – sometimes you want to emphasize them to tell a story, other times you want to soften them for a more flattering portrait – there are some considerations that can help you achieve exactly the look you want. In this video, Lindsay demonstrates her three key lighting tips to flatter wrinkles.
1. The Art of Light Quality
The foundation of flattering wrinkles starts with understanding light quality. Think about stepping outside – direct sunlight creates harsh shadows that emphasize every detail, while cloudy days offer a naturally flattering diffusion. This same principle guides studio lighting decisions.
To demonstrate this, Lindsay begins with a Magnum reflector and grid to create hard light. Then she switches to a large umbrella with diffusion for soft light. The difference is striking:

Looking at the side-by-side comparison, you'll notice how the harder light creates defined edges, particularly visible in the shadow next to the nose. The shadow side of the face shows more pronounced texture, especially under the eye – typical characteristics of a harder light source.
In the soft light photo with the umbrella and diffusion, shadows become gradual rather than abrupt, transitions are smoother, and those same areas that showed texture before appear much softer. If your goal is to flatter wrinkles, larger, softer modifiers like 5-foot octaboxes or large umbrellas with diffusion will typically be your best choice.
2. Playing with Direction
The position of your light can also dramatically affect how wrinkles appear in your portraits. In these images, you can see the differences between a shot with the light off to the side compared to one with the light straight on:

For the left image, Lindsay positioned a 3-foot octabox to the left of her subject. You can see how the side-positioned light rakes across the skin, creating shadows that emphasize texture – particularly noticeable above the lip and along the neck.
But look what happens when she brings that same light around to face the subject straight-on. The texture becomes significantly less pronounced simply because there aren't as many shadows being cast across the skin. To achieve this centered position without having the light stand interfere with composition, Lindsay suggests using a C-stand or Mini Boom arm.
The vertical position of your light matters just as much. In the image below, you can see how a higher light position beautifully sculpts cheekbones and jawlines but also creates more pronounced shadows. Look particularly at the texture under the eyes – raising the light emphasizes these areas significantly.

3. The Fill Light Factor
So how do you maintain those beautifully sculpted features while still flattering wrinkles? The answer lies in strategic fill light. Lindsay shows this with her go-to setup: a 1x4 strip softbox with grid. Look at this next comparison – the fill light subtly lifts shadows without eliminating them entirely. You can still see the beautiful bone structure, but the wrinkles and texture appear softer.

When she increases the fill light's power, however, we encounter a common pitfall. Notice how the neck and chin become brighter than the center of the face. Since our eyes naturally go to the brightest part of an image, this undermines the portrait's impact.

The V-Flat Secret
For the most natural way to flatter wrinkles while maintaining dimension, Lindsay turns to V-Flats. Check out this final image to see how positioning V-Flats with the white side out, both underneath and to the side of the subject, creates an incredibly subtle fill light:

Unlike strobe fill, V-Flats produce a soft, wrapping light that preserves dimensionality while smoothing transitions between highlights and shadows. The result looks natural and flattering without appearing obviously lit.
Mastering the Balance
The real art of photographing wrinkles lies in understanding how these three elements – quality of light, direction, and fill – work together. When a client wants a portrait that minimizes texture, opt for larger modifiers, more centered light positions, and subtle fill from V-Flats. If you're creating a dramatic portrait that celebrates character, you might choose harder light sources and more dramatic angles.
These aren't rigid rules but rather tools in your lighting arsenal. By understanding how each choice affects the final image, you can confidently craft lighting that flatters your subjects while achieving your creative vision. Whether you're shooting professional headshots or personal portraits, these principles will help you create images that make your subjects look – and feel – their absolute best.
Want to see exactly how Lindsay arranges her lighting setups? You'll have to watch the video! And if you want to see more of Lindsay's tips for flattering portraits, visit learn.lindsayadlerphotography.com or check out our Behind the Scenes page.
Leave a comment
This site is protected by hCaptcha and the hCaptcha Privacy Policy and Terms of Service apply.